Determining the Mold Nests of Your Workpiece Carrier
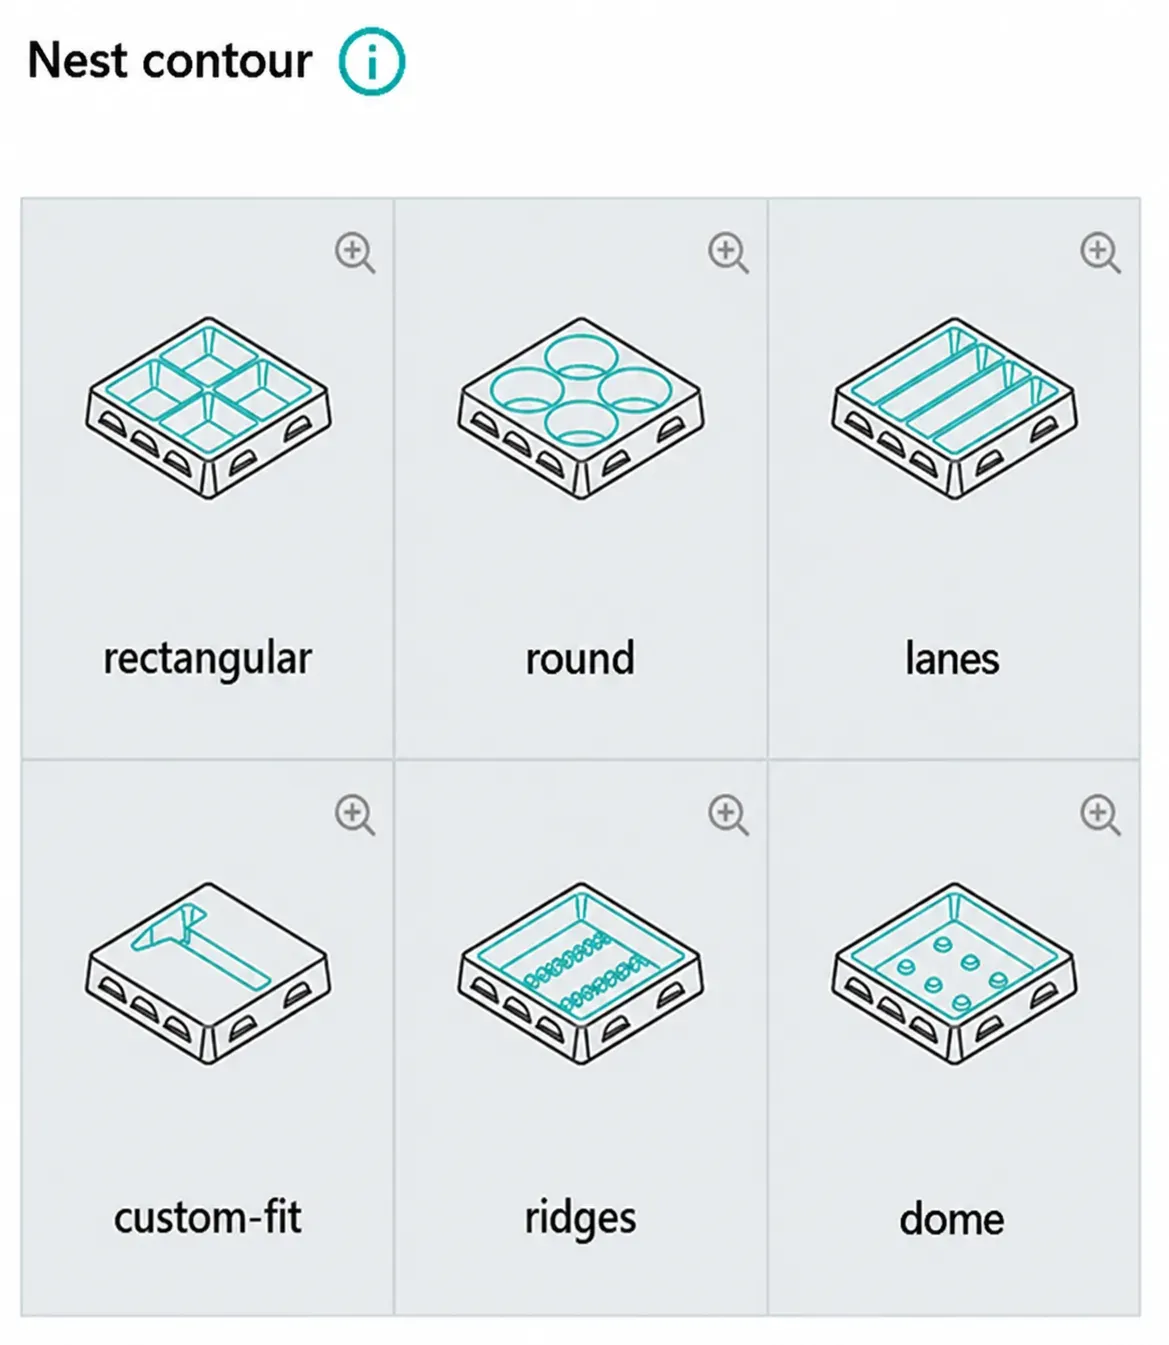
Mold nests or cavities can be diverse: rectangular, round, custom-shaped, tracks, ribs, or domes. So how is it decided which mold nest is the right one? More on this in the article.
Lisa-Marie Bittner
Updated on August 7, 2026
Share
Form Nests for Your Plastic Tray - Key Points
Form nests (cavities) are custom-fit recesses in the workpiece carrier that fix and protect components during transport, storage and handling.
Form design influences packing density, ergonomics, automation capability and tool costs.
Requirements such as minimum distances, draft angles and gripper cutouts must be considered early in the design phase.
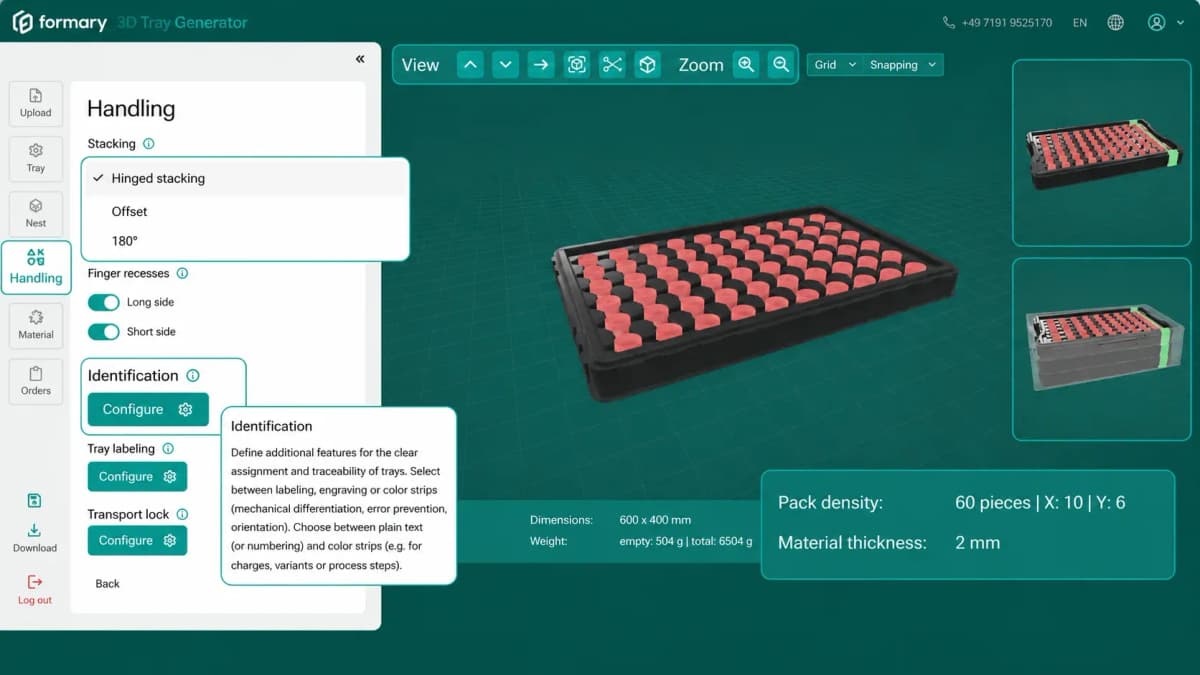
→ Upload your 3D component in our 3D Tray Generator: The form nest is automatically adapted to your data.
What are form nests and cavities?
Form nests are cavities that accommodate the component. Cavity is derived from the Latin "cavum" and means hollow. Simply put, form nests are recesses in the workpiece carrier that ensure safe transport of the component and simplified loading and unloading of the tray.
Why are form nests so important?
The shape of the cavity that accommodates the component is in many cases the critical point in functionality. Whether for inlays, blister packs, trays or workpiece carriers – how well the cavity is adapted to the product determines efficiency and safety during handling, transport and storage. Form nests: Different nest contours
Form Nests: Different Nest Contours
What requirements must form nests meet?
In intralogistics and extralogistics, cost optimization is paramount. Important factors include:
Maximum packing density: The goal is to achieve economical transport volume by placing the maximum possible number of components per tray.
Universal nests: Costs can be saved if as many different components as possible can be transported in a universal tray. This means fewer tray variants, lower investments and reduced handling effort. In this case, the form nests are designed as universal nests.
What influences the maximum packing density of form nests and cavities?
User specifications: Minimum distance nest-to-nest and nest-to-outer edge for ergonomic handling. Components should be easily removed from the cavity or trays should be able to be quickly placed in a container.
Draft angles: Form nests require a draft angle of 2–5° for ejection in the thermoforming process so the tray can be easily lifted off the thermoforming tool.
Automation requirements: Edge geometry, gripper technology, nest depth and positioning. Maximum packing density is always the result of the equation from the specifications above.
How are universally usable form nests designed?
When investing in the development of a new transport tray, universal tray design is often required. Different component variants or component families can be transported in a universal tray. This saves tool costs during cavity production that would otherwise be incurred for each tray variant. This means the form nests must be adapted to different components.
What must be considered when developing universal form nests?
The position: If a horizontal position of the components is not possible due to different dimensions, much space can be wasted.
Unequal outer dimensions and/or contours: The contours must be approximately correct, otherwise it becomes difficult.
Sensitive areas: If areas at different points of the components must be recessed, it is often difficult to find a middle ground.
Introducing components via different levels: Steps and tight contours are difficult to thermoform with some materials such as polycarbonate.
How are the form nests adapted 100% to the component?
A cavity is always aligned to the original component. This is done using the CAD data of the components, a component sample, or an existing tray.
CAD Data
Creating data via the CAD data of the component is best for both customer and formary: On one hand, we can optimally measure CAD data from all sides. No time-consuming iterations in data adjustment are needed.
Second, we can adjust details virtually in advance, such as the distance between component and nest inner wall. Before creating the data, we will of course have you sign a confidentiality agreement / non-disclosure agreement.
Tip: In our 3D Tray Generator, the form nests are automatically adapted to your component data.
Component Sample
The second option is to create the form nest data based on a component sample. Depending on the structure of the component, we can either measure manually or use an optical measuring device.
Existing Tray
As a third option, we can also reverse-engineer the data based on an old tray sample, i.e. we measure the part with a Faro Arm. An existing disadvantage is that any imperfections on the tray surface are also transferred, which then exist in the data model. It is always important that all other requirements such as tolerance of centering points (for automation trays), grid dimensions and desired dimensions on the nest bottom are communicated. The more details coordinated in advance, the more error-free the data design will be.
Can I test the fit of the cavity before tool creation?
The answer is yes. After the nest design has been created in the CAD program, functionality can be tested via various sample options (see also Prototypes or our blog post Rapid Prototyping)
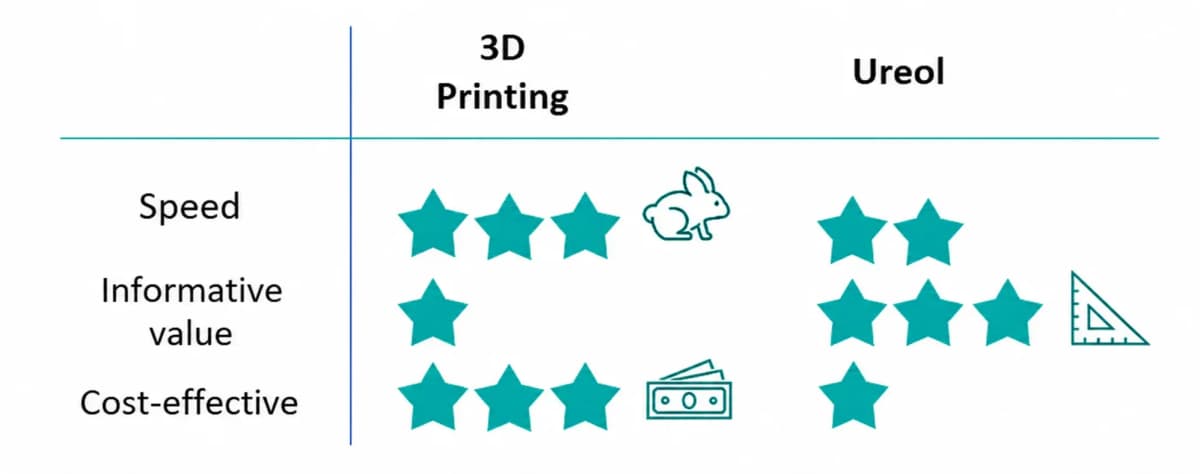
Sample Options
3D printing: fast, inexpensive, but limited validity.
Ureol thermoforming: realistic, tests material behavior directly in the thermoforming process.
The choice therefore depends on
Speed of the required results,
Validity compared to series production,
available budget.
Sample options for form nests
What happens if the components don't fit in the form nests?
The form nests can be adjusted depending on the tool design:
Tool Design
Adjustment of form nests in this direction possible
Adjustment of form nests in this direction not possible
Negative tool
Deepening the form nests
Make form nests larger all around to create more air between nest and component
Set form nests deeper to recess components deeper in the nest
Raising the form nests
Positive tool
Raising the nests
Set form nests tighter all around to reduce air between component and nest walls
Raise nest bottom to position parts closer to the nest edge, or even to protrude (e.g. for better gripper positioning)
Deepening the form nests
Form Nests and Cavities - A Conclusion
The correct design of form nests determines packing density, component protection and efficiency in transport and production. Those who consider early on requirements such as minimum distances, draft angles and automation parameters save time and costs and increase process reliability.
Still have questions? Write to us now in the live chat or call us: 07191 9525170.
Frequently Asked Questions about Form Nests and Cavities
Find balance between material savings and functionality
Tip: In our 3D Tray Generator you can determine and optimize packing density with just a few clicks.
Further Content
Thermoformed Parts in Practice
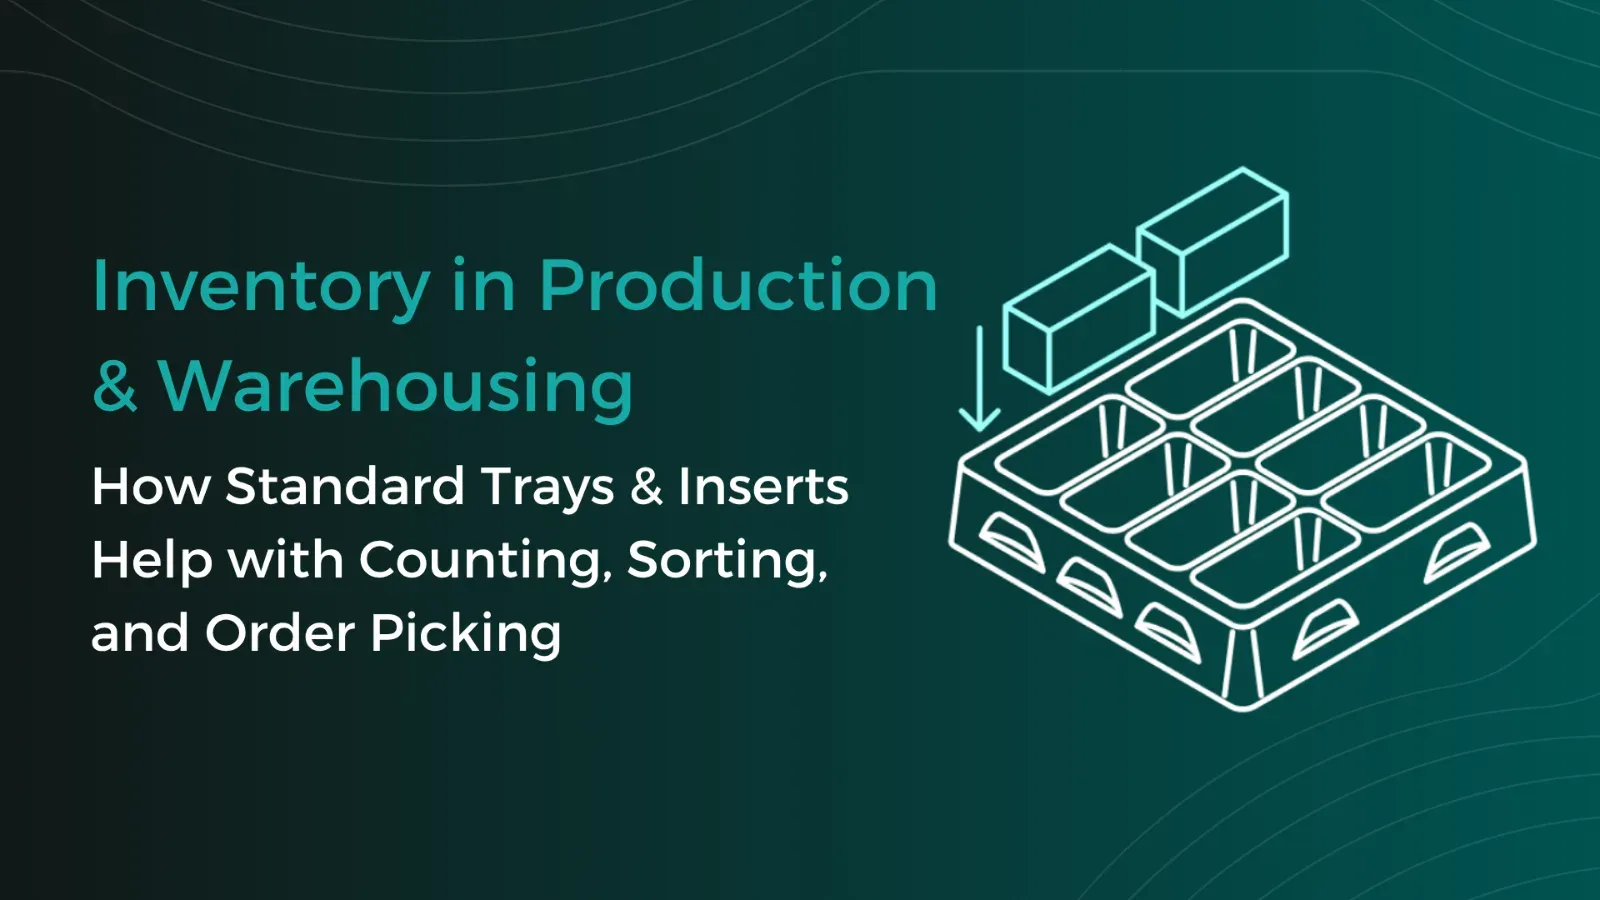
Warehouse Inventory: Tips & Tricks for Better Warehouse Organization and Efficiency with Trays
Warehouse inventories cost time, tie up staff, and often disrupt ongoing operations. This is especially true for small parts, serial components, or recurring components, where counting quickly becomes confusing if parts are stored loose in boxes or shelf compartments. Standard trays create a simple yet effective structure here for better warehouse organization. This article shows how trays optimize inventory counts in both the warehouse and production.
Thermoformed Parts in Practice
Tray Labeling: How to Use Labels Effectively for Your Packaging
To ensure that trays can be correctly identified and used, clear labeling is essential. Depending on the application, quantity, and process requirements, different methods can be used, such as permanent engraving or flexible labels. In this article, you will learn which tray labeling methods are available, when each method makes sense, and how labeling can already be incorporated into the tray design using formary’s 3D Tray Generator.
Thermoformed Parts in Practice
Supplier Guide for Plastic Thermoformed Parts – 10 Key Factors That Matter
Choosing the right supplier for plastic thermoformed parts is crucial for the quality, efficiency, and cost-effectiveness of your production. Our 10 tips will show you what to look for when selecting a supplier.
Platform & Features
3 Factors That Accelerate Your Procurement with formary
The three key factors—time, speed, and efficiency—are crucial for success in industrial manufacturing, from inquiry to delivery. That’s why formary has optimized this process, significantly accelerating the procurement of plastic thermoformed parts. Learn more in this article.
Thermoformed Parts in Practice
Rapid Prototyping in Thermoforming – Definition, Benefits & Processes
Rapid prototyping is used in product development to quickly create preliminary models. In thermoforming, rapid prototyping offers numerous advantages for producing high-quality prototypes efficiently and cost-effectively.
Platform & Features
Project Planning in Thermoforming – From Concept to Mass Production
From the initial idea to mass production, various factors must be considered in thermoforming project planning, including material selection, tool manufacturing, and quality control. This article provides a detailed look at how a thermoforming project with formary is executed.
Thermoformed Parts in Practice
Thermoforming vs. 3D Printing – Advantages, Disadvantages, Differences, and Similarities
Plastic parts are manufactured using various processing methods. In this article, we focus on comparing the processes of plastic thermoforming and 3D printing.
Thermoformed Parts in Practice
Injection Molding vs. Plastic Thermoforming – Advantages, Disadvantages, Differences, and Similarities
In the world of plastic processing, there are various common manufacturing methods used to produce precise plastic components for industrial applications. We compare two of them: Injection Molding and Plastic Thermoforming.
Thermoformed Parts in Practice
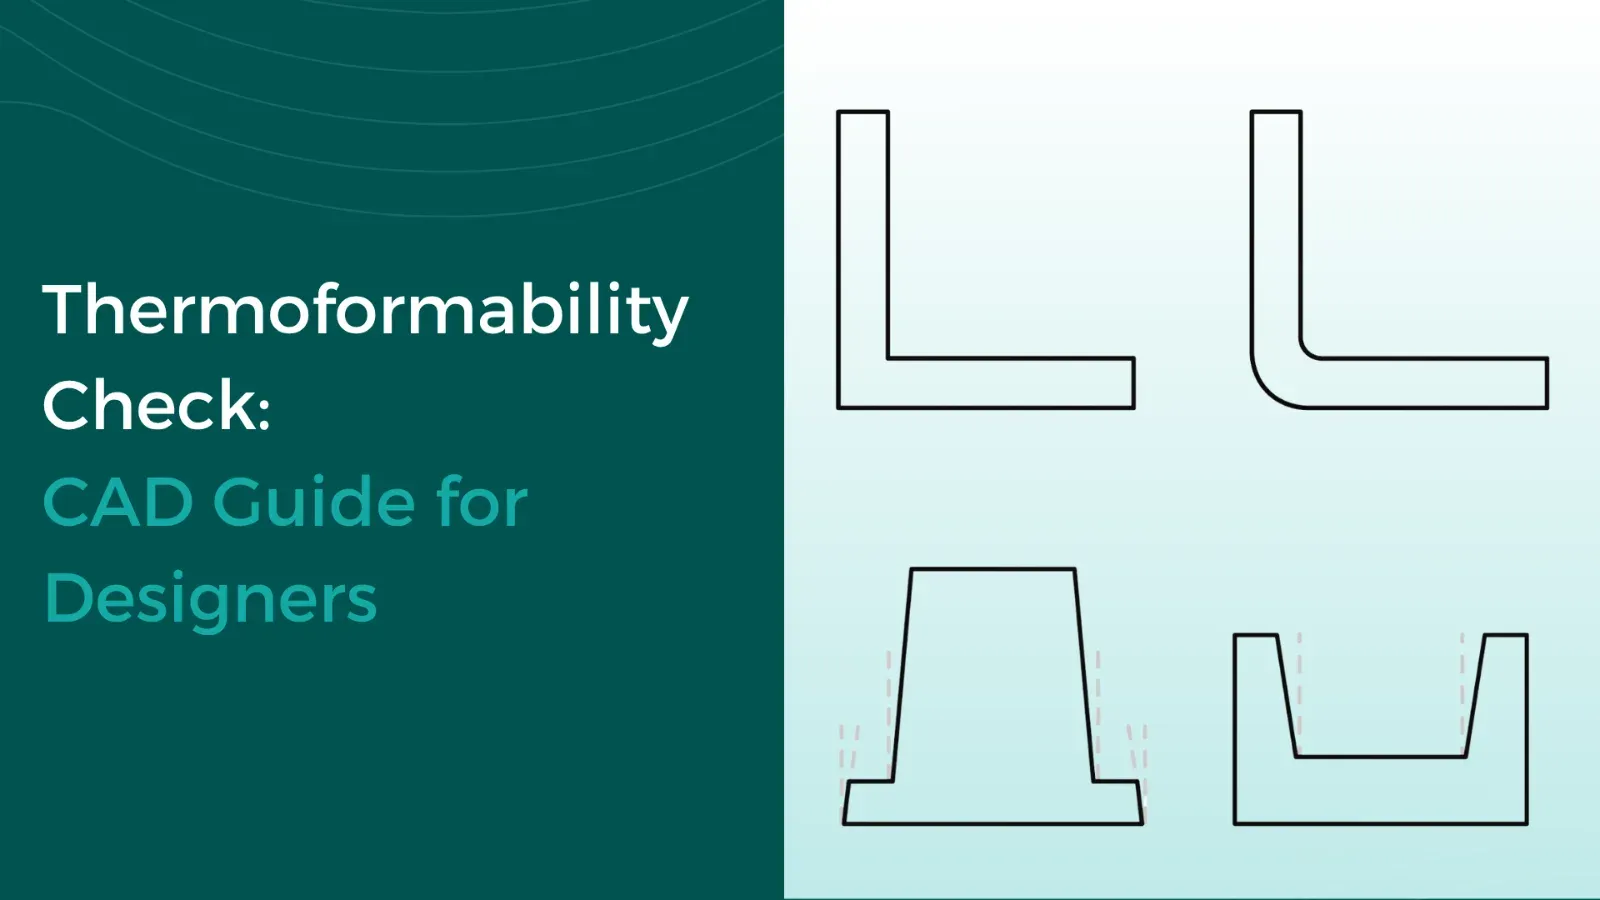
Checking CAD Models for Thermoformability: The Designer's Guide
Whether a plastic part is thermoformable is determined in the CAD model. Anyone who discusses geometry, wall thicknesses, and demoldability only after the first sampling pays for this loop with tool modifications, material waste, and lost weeks in the project timeline. This can be avoided during design: with a structured check that evaluates each model along this guide and makes typical sources of error visible early on.