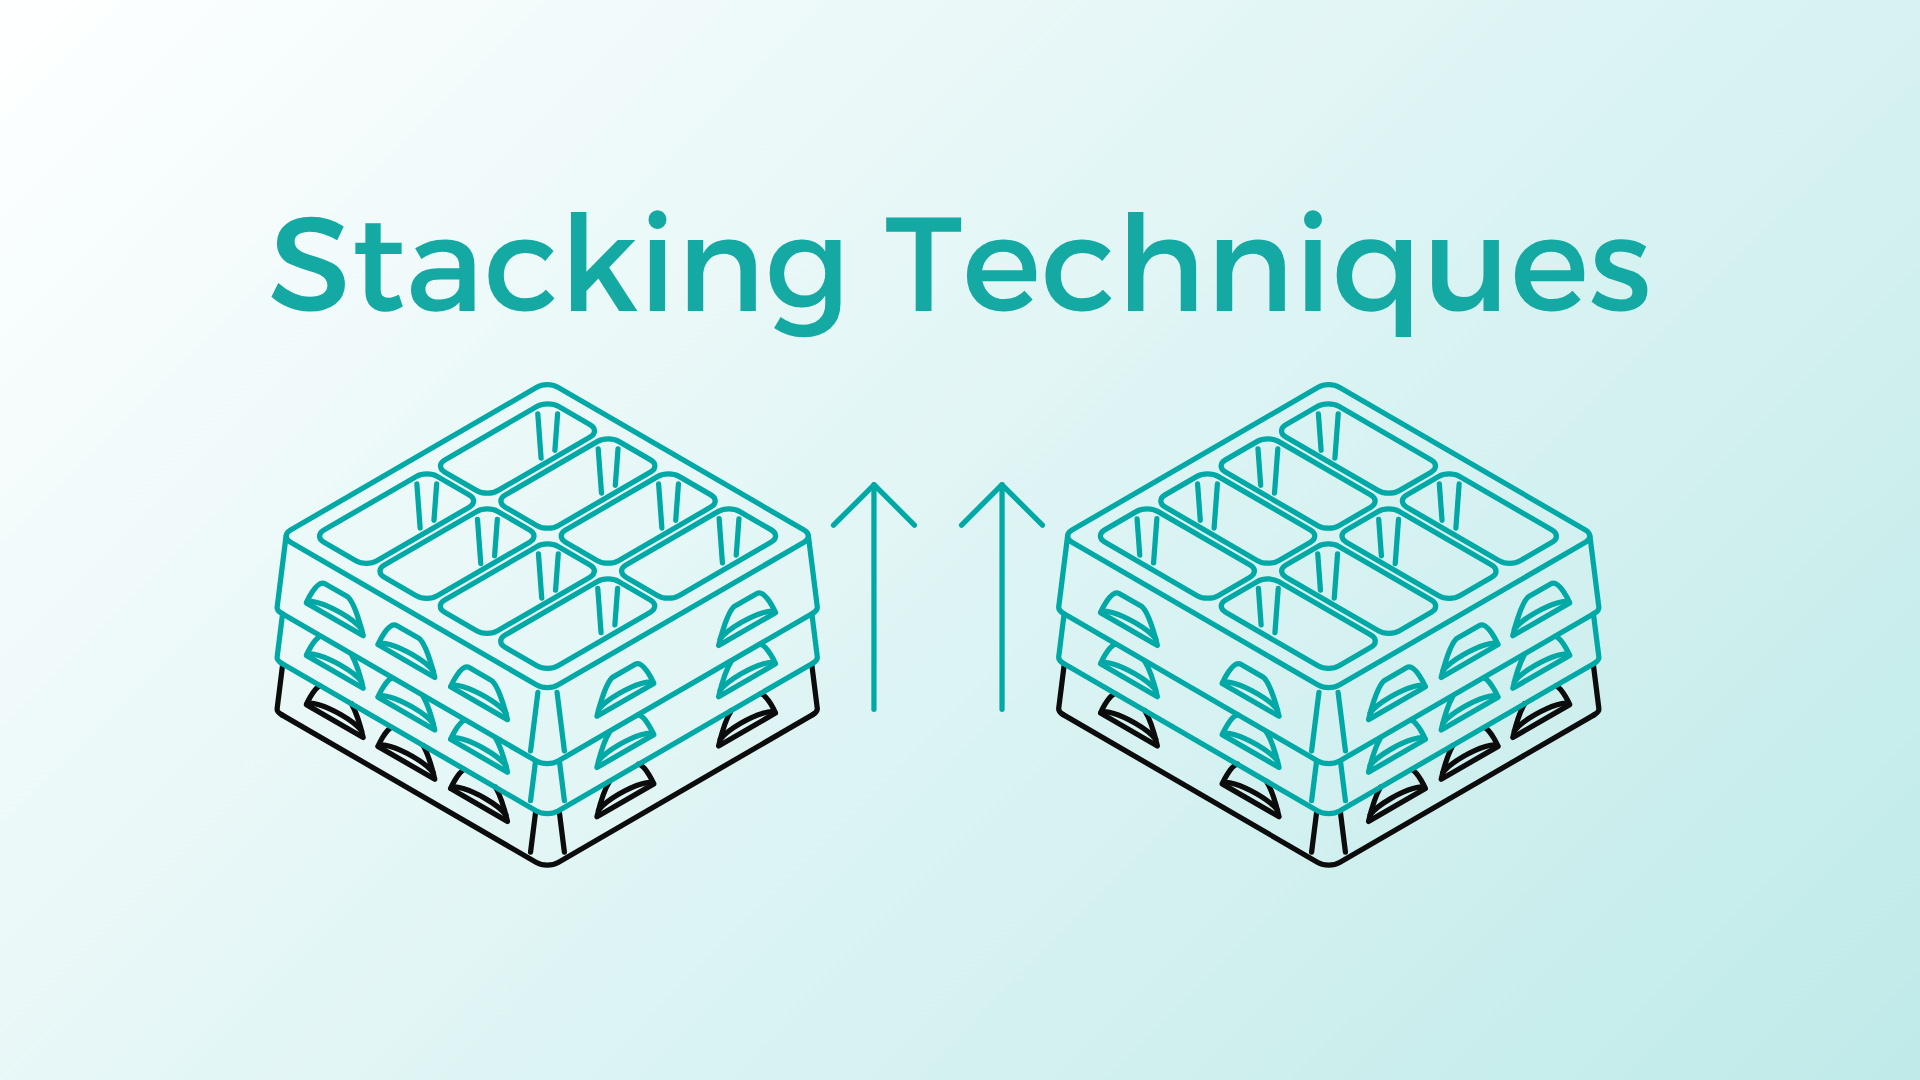
What Stacking Methods Are Used for Trays? 4 Stacking Methods for Efficient Palletizing
This article demonstrates which stacking methods are used for different applications, where common errors occur, and which stacking method provides the greatest added value.
Lisa-Marie Bittner
Updated on June 2, 2026
Share
Contents
Stacking methods for plastic trays - Key points at a glance
The right stacking method for plastic trays is crucial to avoid transport damage and make processes in production, storage, and logistics more efficient.
There are various stacking methods such as undercut stacking, which is suitable for simple and cost-effective applications, and nub stacking, which ensures high stability for heavy components and in automated systems.
The choice of the appropriate method depends on factors such as material thickness, product sensitivity, and budget.
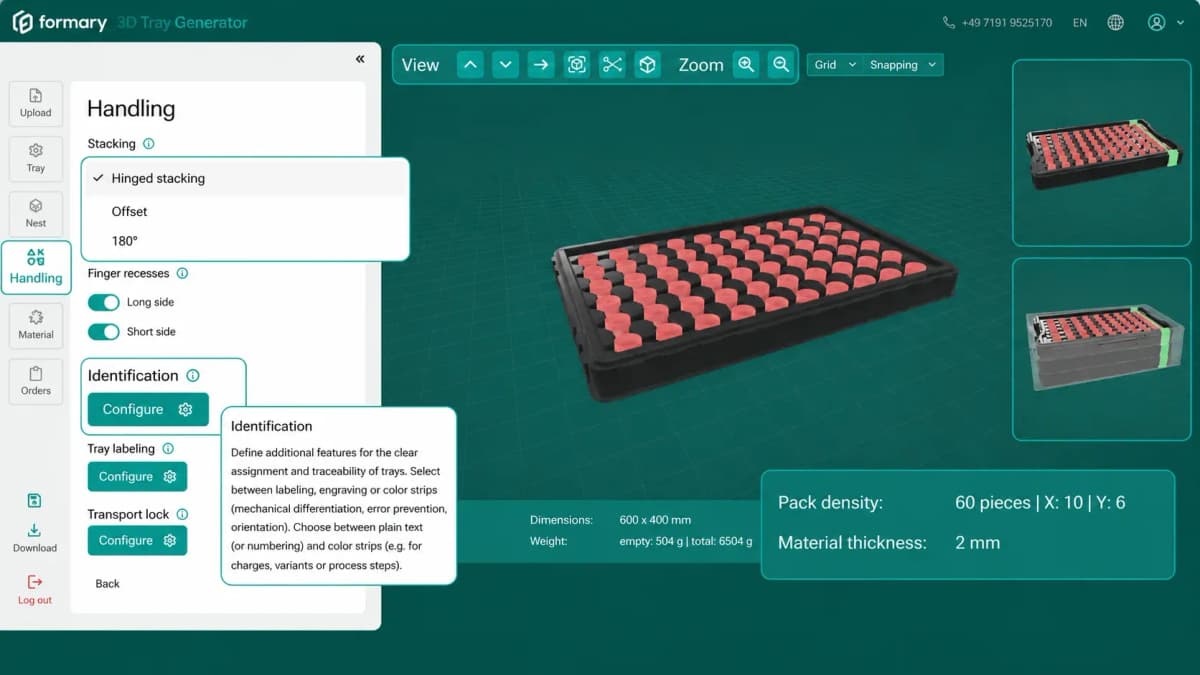
→ In our 3D Tray Generator, you can also test, if you already have 3D data for your tray, which stacking method is best suited for your plastic tray.
Palletising: How to avoid transport damage with the right stacking method
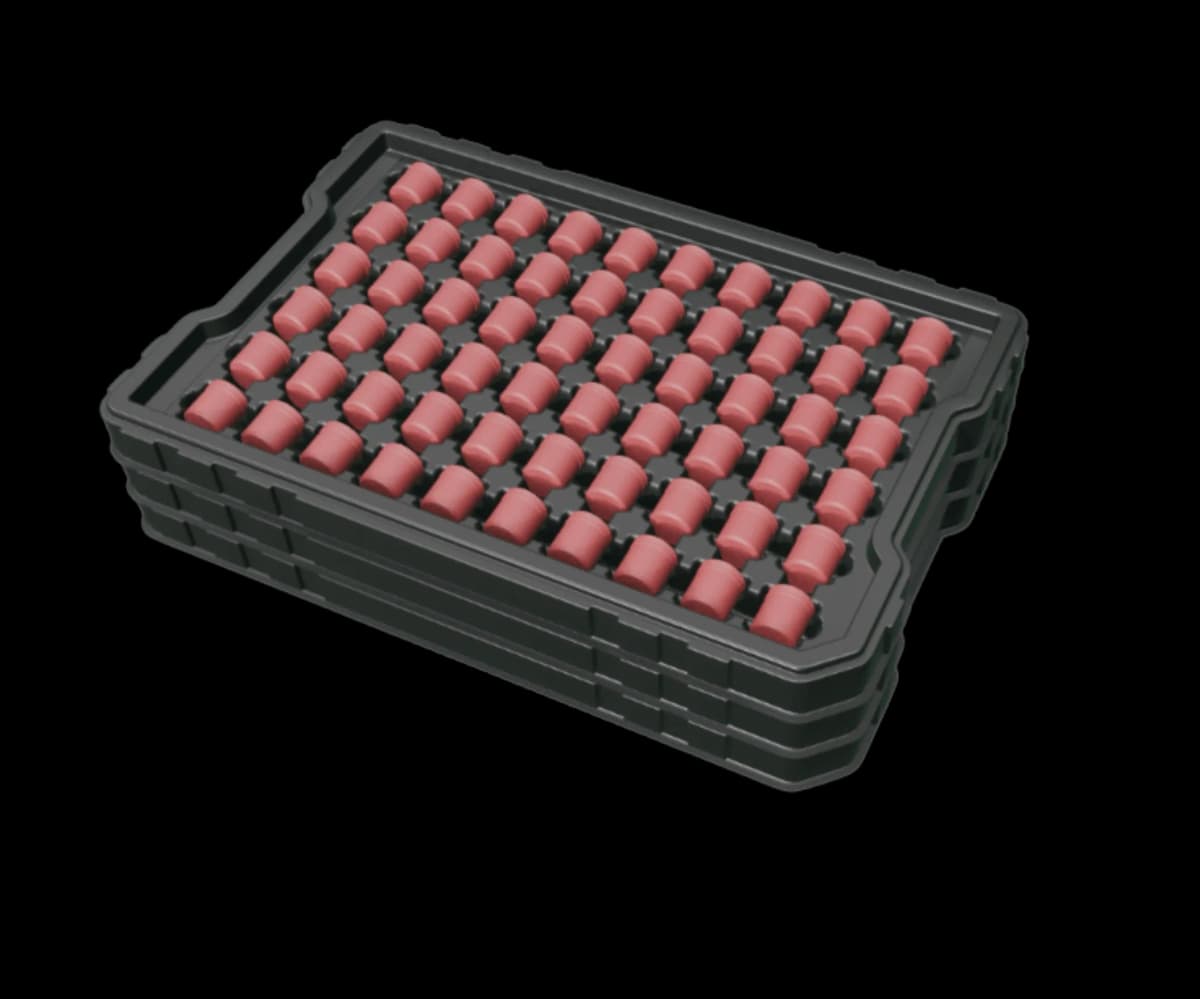
In production, your products are loaded into trays from conveyor belts until the assembled stacks are transported onwards.
Free-standing tray stacks do not require any additional boxes or containers as loading aids.
Stacking trays save space when storing your products. In intralogistics, a stable stacking method ensures safe transport.
A few key facts about tray stacking methods
If trays are to be stacked, this must be taken into account in the design, as additional space is required for stacking. A stackable tray is therefore usually slightly higher than non-stackable models. The tray height when loaded is then made up as follows, for example:
Height of the components: 65 mm
Stacking height: 10 mm
Space to the next higher tray: 3 mm
Material thickness of the tray (wall thickness): 2 mm
= 80 mm loaded Tray height
Calculating total stack height
The total stacking height of this example results from the calculated tray height of 80 mm (loaded) and the stacking height of 10 mm per tray added with each tray. If certain outer carton dimensions are specified, it is possible to calculate how many trays fit into a packaging unit.
In the formary configurator, you can either adapt the tray to a specific carton or directly request a suitable carton for the specified stacking height.
Which stacking method is the right one for efficient palletising?
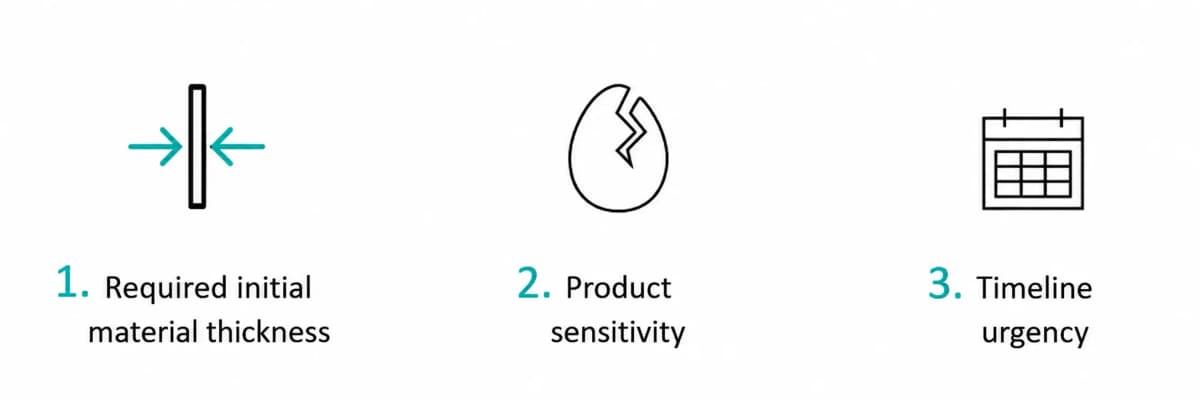
When selecting the right stacking method for palletising, various points are decisive:
Material thickness
The required stacking of the tray depends primarily on the material thickness used. The stacking method often depends on whether the tray is used as a disposable or reusable product.
Sensitivity of the products
Can the next higher tray stack touch your components or rest on them, or are they touch-sensitive? If you are not allowed to stack over the components, but must leave a few millimetres of clearance to the next higher tray, then the stacking tray must be designed to be self-supporting - this requires robust palletising.
Urgency of the schedule
Simple stacking techniques, such as undercut stacking, are easier to implement than moving mould parts (a nap stacking) - and therefore shorten the lead time of your first samples.
Tip: With our 3D Tray Generator, a suitable stacking technique is recommended based on your component data.
What exactly is an undercut? And what is it used for when palletising stacking trays?
The most commonly used stacking method in logistics is undercut stacking. An undercut is an inward-facing flange in the tray wall. These are not easy to mould during production, as they have to be removed from the thermoforming tool in the opposite direction to the demoulding direction.
The role of the undercut in the appropriate stacking method
Advantages of undercut stacking
Despite the more complex manufacturing process, undercut stacking offers several advantages:
Stable stacking: Trays interlock positively, preventing them from slipping during transport.
Cost efficiency: Additional loading aids (e.g. cardboard boxes) become unnecessary, reducing material and transport costs.
Space-saving: More trays can be accommodated in one packaging unit.
Versatile: Suitable for light to heavy components, depending on the design of the undercuts.
Design of undercuts
The dimensioning of undercuts is based on the requirements of the transported components:
Narrow undercuts: sufficient for light loads such as cups, plastic parts, or small series.
Wide and deep undercuts: necessary for heavy components such as metal parts, engine or transmission components, so that the load is evenly distributed.
The price-performance ratio of stacking methods
So which techniques are available and which should be used to avoid transport damage? That depends. We provide guide values based on your application or product. What you are primarily interested in when purchasing a tray is often the price - or the price-performance ratio. More complex technologies often have higher tool prices. We explain the background.
The 4 most common stacking methods at a glance
When palletizing stackable trays and workpiece carriers, there are various methods that are selected depending on weight, material thickness, and area of application. Below we present the four most important stacking techniques.
Stacking method
Typical applications
Advantages
Disadvantages
Costs
Undercut stacking at the edge
Buckets, cups, small plastic containers
Cost-effective, can be integrated directly into the tool
Only suitable for light loads
Low
Undercut stacking in the wall
Single-use trays, small workpiece carriers
Fast production, inexpensive tools
Limited load capacity, problematic with heavy parts
Low–Medium
A/B stacking
Inlays, packaging trays, empty packaging
Very good separability, easy handling
Higher tooling costs due to two variants
Medium
Nub stacking with flap tool
Automation trays, robotics, heavy metal and automotive components
With smaller buckets and tubs, the undercut stacking does not need to be very pronounced due to the low weight. It can therefore be applied directly to the edge. This type of palletising is therefore particularly suitable for containers. Simple undercut stacking can be incorporated into the mould during design and is not cost-intensive.
Top undercut:
Undercut top
Undercut bottom:
Undercut bottom
2. Undercut stacking in the wall - for disposable trays
We have already discussed what undercuts are. As products with a low weight only require a narrow stack, this can be incorporated into the mould without additional features (more on this later). This allows for low-cost moulds and fast production cycles. Just right for disposable trays.
Disadvantages of undercut stacking
The disadvantage, however, is that undercut stacking can naturally reach its limits with thin material. If the load is too heavy and the stacking does not support it, the undercut must either be maximised or the material thickness increased. If this does not help either, dimple stacking must be used (see point 4.).
Normal undercut stacking is usually used for transport and storage applications:
Small trays
Workpiece carriers with low packing density
Workpiece carriers with low weight
Low initial thicknesses
Disposable trays
Lowest possible project costs
3. A/B stacking for inlays and inserts
A/B stacking is a suitable solution for plastic inlays and packaging inserts.
With A/B stacking, two different versions, A and B, of the tray are manufactured.
The two tray versions are identical, but have offset positioned stacking nubs.
During palletizing, an A part is always placed on a B part, so that the nubs always attach at offset positions of the tray and stabilize the parts.
The suitable tool for A/B stacking
Theoretically, two different thermoforming tools would be required for A/B stacking. In practice, however, alternatives can be used:
Multi-cavity tools, where 50% A and 50% B trays are produced respectively.
Movable modules in a single-cavity tool that are changed after half the quantity.
These approaches affect the price of A/B stacking, as the tooling effort is higher.
Advantages and areas of application for A/B stacking
A/B stacking is particularly used for empty packaging, i.e., when empty trays are delivered to packaging lines for further processing. Advantages are:
Trays can be easily separated
All trays are uniformly aligned
Stacks can be processed quickly and efficiently
4. Dimple stacking from a flap mould
If the stacking has to be very stable, dimple stacking is used for palletising. The stacking trays are supported and stacked by circumferential block segments. If trays contain heavy parts or if precise stacking tolerances of the vertical stack are required (e.g. in a palletiser of an automation system), this is the right technology.
The suitable tool for nub stacking
The circumferential stacking cams are so strongly moulded that they could not be demoulded with a normal tool. For this reason, a flap tool is used:
Horizontal flaps around the tool edge form the block segments.
Before demolding, these segments fold to the side so that the tray can be demolded seamlessly.
The process requires a more complex tool structure with moving parts.
Areas of application for nub stacking
This stacking method is more in the premium range, with more cost-intensive tooling construction and longer tool production times. Therefore, flap tool stackings are usually used in higher-value application areas, such as automation, where robot palletizing comes into play in addition to manual palletizing.
These typical mistakes are often made when palletising
Are you having problems stacking your trays? We discuss the error patterns and their possible causes:
Error pattern
Cause
Solution
Stack jammed
Wall draft angles too small
Material of the trays adheres to each other
Increase wall draft angles
Use material with anti-blocking properties (e.g. A-PET)
Trays tilt and slip
Walls are too thin, become unstable and fork apart → stacking no longer works
Stacking surface of the stacking nubs offers too little support surface
Choose thicker initial thickness
Mill stacking nubs wider/deeper to increase the support surface
Stack tilts at an angle
Stacking not wide enough for stability
Insufficient support surface
Excessive loading weight or stacking height
Stacking technique not adapted to handling/transport
Bottom-up-approach
Choose material with better mechanical properties
Tool adjustment with more complex stacking technique
Reduce packing density to decrease total weight
The aim is to prevent jammed and wedged stacks and to achieve the most stable result possible.
Conclusion: The right stacking method helps to avoid transport damage
The right stacking method helps to avoid transport damage by distributing the weight evenly and contributing to the stability of the load. The choice of the right palletizing technique should be tailored to the specific needs to optimize costs and minimize damage. Would you like to benefit from this? Simply tell us the stacking height or the number of trays to be stacked when making your request.
Frequently asked questions about stacking methods for plastic trays
The right stacking method for plastic trays is important because it prevents transport damage, makes storage and production processes more efficient, and reduces costs. Incorrect stacking can lead to unstable pallets, jammed trays, and damaged products.
The choice of stacking method depends on material thickness, product sensitivity, weight, permitted contact between trays, budget, and project urgency.
An undercut is an inward-facing flange in the tray wall that ensures stable and space-saving stacking. The size and shape depend on the load: narrow for light products, wide and deep for heavy parts.
Further Content
Blog
Cleaning Trays: This is how to clean reusable trays
Workpiece carriers transport components in various stages of production and are used for long periods. Many components, especially in the automotive industry, are oily or greasy, and during transport, dirt and other contaminants accumulate. Therefore, it is important to clean the trays.
Blog
Determining the Mold Nests of Your Workpiece Carrier
Mold nests or cavities can be diverse: rectangular, round, custom-shaped, tracks, ribs, or domes. So how is it decided which mold nest is the right one? More on this in the article.
Blog
Automation of Production - How Trays Support Automation in Industry 4.0
Trays for automation are workpiece carriers that pass through an automated industrial system or production line, fulfilling various functions along the way.
Blog
Now live: Create Tray Designs Directly from CAD Data in Your Browser
Planning plastic trays for transport, storage, or automated manufacturing processes often starts with one key question: what should a suitable tray for the component actually look like? This is exactly what the new web-based 3D Tray Generator answers within seconds. Learn more in this article.